


Installing Apache, PHP and MySQL in Windows
We strongly recommend to use Linux for the purposes of PHP development. Most server systems have Linux installed. If you are using Windows for your everyday tasks, you still can install Linux on a virtual machine (for example, on VirtualBox) and run Apache, PHP and MySQL on that virtual machine. If at the same time you would like to use NetBeans in Windows, you can do that - just configure a shared directory (for example, set up Samba server on your virtual machine).
In case you strongly wish to install Apache, PHP and MySQL in Windows (which we do not recommend), here are some instructions (but note that installing those in Windows may be more difficult than in Linux).
There are a couple of most popular Apache + MySQL + PHP distributions:
Choose one and install it on your Windows server machine.
Checking Web Server Installation
After you set up your web server, check that it is installed correctly and that your Apache server recognizes the PHP engine.
To check that Apache and PHP are installed correctly, create phpinfo.php file in Apache document root directory.
In the phpinfo.php file, enter the PHP method phpinfo() as follows:
<?php
	phpinfo();
?>
Open the file in your browser. The standard PHP information page should display (figure A.3).
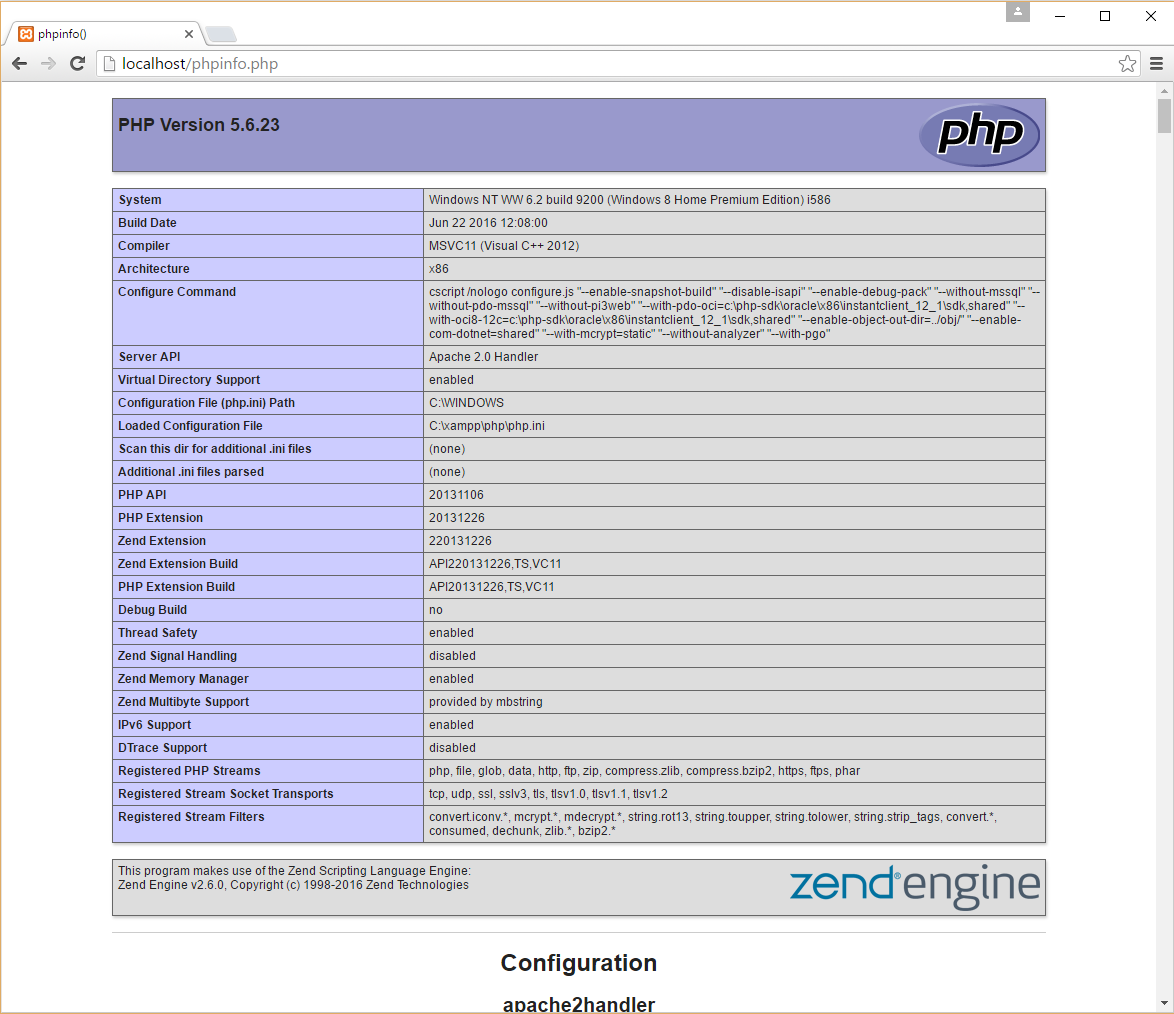 Figure A.3. PHP Information
Enabling Apache's mod_rewrite module
Zend Framework 3 requires that you have Apache's mod_rewrite module enabled.
To enable mod_rewrite, open your the Apache config file (typically httpd.conf), then find the following line:
#LoadModule rewrite_module modules/mod_rewrite.so
and remove the hash (#) sign from the beginning to uncomment the line. It should now look like this:
LoadModule rewrite_module modules/mod_rewrite.so
Finally, restart Apache web server to apply your changes.
Creating Apache Virtual Host
A virtual host term means that you can run several web-sites on the same machine. The virtual sites are differentiated by domain name (like site.mydomain.com and site2.mydomain.com)
Please consult to your WAMP or XAMPP documentation for information on how to create virtual hosts.
Right now, you don't need to edit virtual host file, we'll do that in chapter Zend Skeleton Application when installing the Hello World application. Now you just need to understand how to create virtual hosts.
Installing XDebug PHP extension
To be able to debug your web sites in NetBeans IDE, it is recommended that you install the XDebug extension of your PHP engine. Download an appropriate DLL from this site.
Then edit your php.ini file and add the following line:
zend_extension="C:/path/to/your/xdebug.dll"
Add the following lines to the end of file (replace the remote IP address placeholder with the IP address you plan to debug your website from):
xdebug.remote_enable=on
xdebug.remote_handler=dbgp
xdebug.remote_host=<remote_ip_address>
Finally, restart the Apache server to apply your changes. Then open the phpinfo.php in your browser and look for XDebug section (it should look like in the figure A.4):
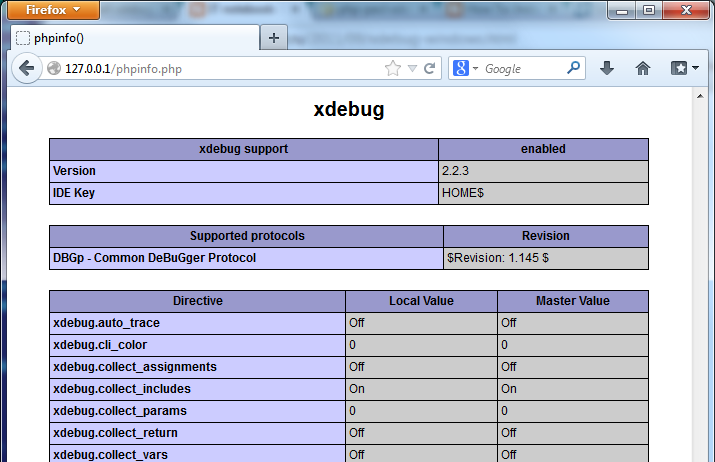 Figure A.4. XDebug Information
Configuring the MySQL Database Server
Now we want to create a database schema and a database user. We will use MySQL Command Line Client. Consult your WAMP or XAMPP documentation on how to do that.
The MySQL Command Line Client console looks like follows (see the figure A.5):
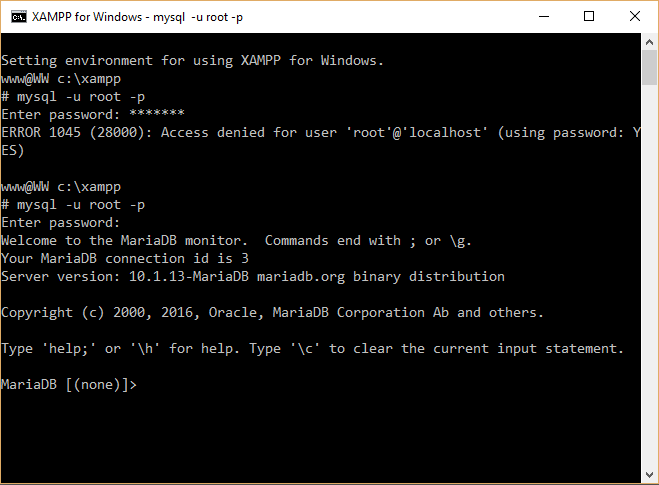 Figure A.5. MySQL Command-Line Client
Now we need to create a new database that will store the tables. To do this, type the following in the MySQL client window:
CREATE DATABASE test_db;
The command above creates an empty database that we will populate later. If the command is executed successfully, the following message is displayed:
Query OK, 1 rows affected (0.05 sec)
Next, we want to create another database user named test_user
that will be used by the web site for connecting
to the database. To create the user, type the following (in the
command below, replace the <your_password> placeholder with
some password):
GRANT ALL PRIVILEGES ON test_db.* TO 'test_user'@'localhost' IDENTIFIED BY '<your_password>';
The command above creates the user named test_user and
grants the user all privileges on the test_db database schema.