


12.8. Adding Blog Home Page
To show how to use EntityManager class, we will create the main page for the Blog web application.
This page will display the list of posts sorted by date in descending order.
To do that, add the constructor method and indexAction() method to the
IndexController controller class, as follows:
<?php
namespace Application\Controller;

use Zend\Mvc\Controller\AbstractActionController;
use Zend\View\Model\ViewModel;
use Application\Entity\Post;

class IndexController extends AbstractActionController
{
  /**
   * Entity manager.
   * @var Doctrine\ORM\EntityManager
   */
  private $entityManager;

  // Constructor method is used to inject dependencies to the controller.
  public function __construct($entityManager)
  {
    $this->entityManager = $entityManager;
  }

  // This is the default "index" action of the controller. It displays the
  // Posts page containing the recent blog posts.
  public function indexAction()
  {
    // Get recent posts
    $posts = $this->entityManager->getRepository(Post::class)
                     ->findBy(['status'=>Post::STATUS_PUBLISHED],
                              ['dateCreated'=>'DESC']);

    // Render the view template
    return new ViewModel([
      'posts' => $posts
    ]);
  }
}
In the code above, we first add the __construct() constructor method which is used to inject the Doctrine
entity manager into the controller (lines 17-20).
Inside of the indexAction() method, we get the repository of the Post entities with entity manager's getRepository() method (line 27).
With the findBy() method provided by repository, we select published posts sorted by date in
descending order. And, in line 32 we pass the selected posts to the view for rendering.
Next, create the factory for the IndexController. To do that, add the IndexControllerFactory.php file
inside of Controller/Factory directory under module's source directory. Put the following content to the
file:
<?php
namespace Application\Controller\Factory;

use Interop\Container\ContainerInterface;
use Zend\ServiceManager\Factory\FactoryInterface;
use Application\Controller\IndexController;

/**
 * This is the factory for IndexController. Its purpose is to instantiate the
 * controller.
 */
class IndexControllerFactory implements FactoryInterface
{
    public function __invoke(ContainerInterface $container,
                     $requestedName, array $options = null)
    {
        $entityManager = $container->get('doctrine.entitymanager.orm_default');

        // Instantiate the controller and inject dependencies
        return new IndexController($entityManager);
    }
}
In the code above, you can see how we instantiate the Doctrine entity manager and inject it into the controller.
Do not forget to register our controller's factory inside module.config.php file. To do that, add the following:
//...
return [
    //...
    'controllers' => [
        //...
        'factories' => [
            Controller\IndexController::class =>
                            Controller\Factory\IndexControllerFactory::class,
        ],
    ],
    //...
];
Next, modify the index.phtml view template file in application/index directory under module's view directory and put the following content into it:
<h1>Posts</h1>

<?php foreach($posts as $post): ?>

<h3>
  <a href="#">
    <?= $this->escapeHtml($post->getTitle()); ?>
  </a>
</h3>

<p>
   <?= $this->escapeHtml($post->getContent()); ?>
</p>

<?php endforeach; ?>
In the view template above, we go in turn through the posts we selected and render each one's title and content. That simple!
Now, if you open the Blog web application in your browser, you should be able to see the following page containing the list of posts (look at figure 12.6 below).
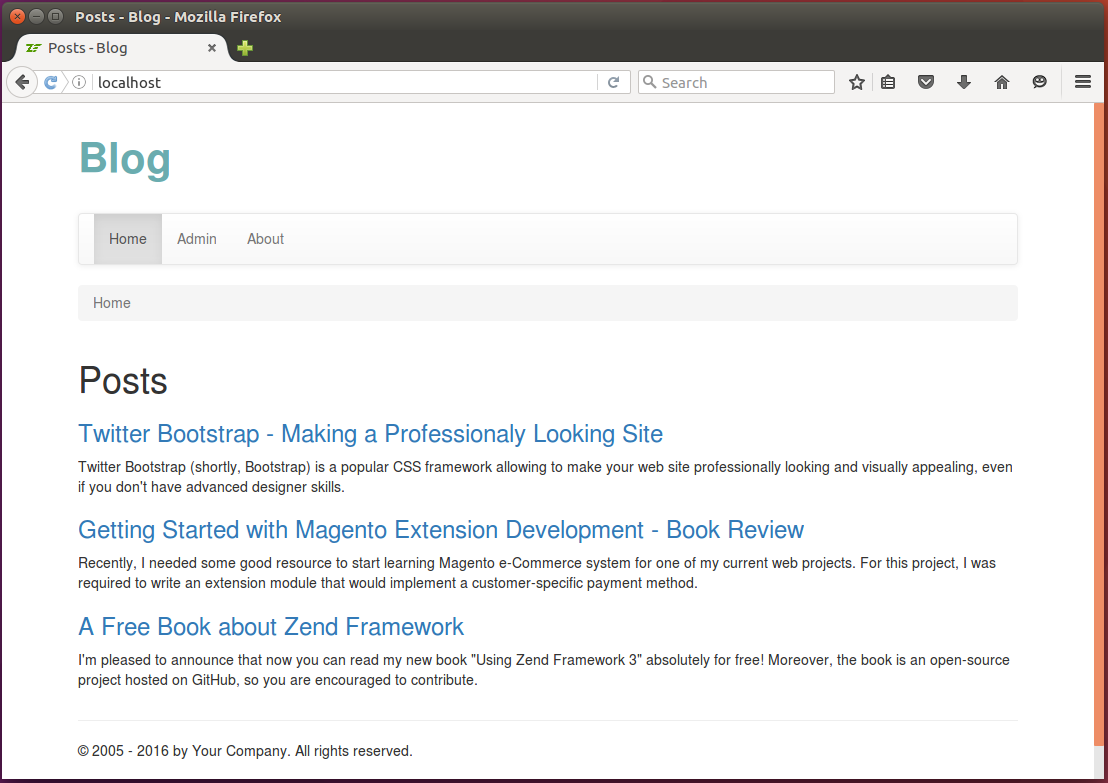 Figure 12.6. List of posts